Good morning all, something a little bit different from me today. I have been ogling faux Dori notebooks on Pinterest, Instagram and Etsy for a while now, but they are quite expensive. So I decided to have a go and make one myself.
If you are familiar with the Midori Traveller's Notebook, then this is the same sort of thing but obviously made with much cheaper materials.
I had some dark grey vinyl left over from re-covering kitchen chairs a few years ago, and never knew what to do with it. But it has come in handy for this. I took my measurements from some of the videos on Youtube showing how to make these.
I cut the vinyl with a craft knife and then added a piece of fabric paper to the back of it and cut to size. The fabric paper was self adhesive so I didn't have to worry about what adhesive to use.
Then I used my Big Bite Cropadile to make the holes in the spine, and set red eyelets in to them. I played around for a while with what elastic to use to hold the inserts in, but eventually decided to use jewellery elastic. As this is quite fine but very strong, and it's also clear so isn't obtrusive on the inside.
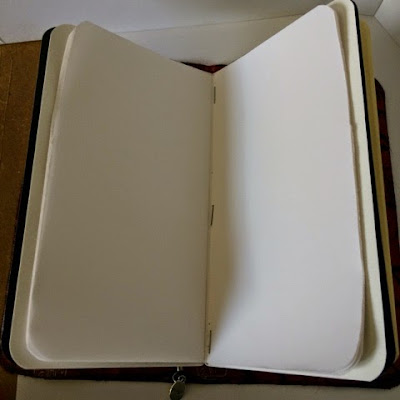
I put together 3 notebooks for the inside, just using card and 3 different sorts of paper. I used plain white paper, plain cream paper and then bleedproof paper for the last booklet.
I stapled these together with a long reach stapler, but next time I think I will stitch them as it will probably look better. Then I slipped them inside the elastic that I had threaded through the holes in the spine to hold them in place.
I wanted to make a bookmark/page finder, so I used a piece of cotton cord and some jewellery findings. Then I added a little charm to the end of it. I tied the cord through the top two holes on the spine to secure it.
I am going to make some more of these as gifts for people, and next time I will add more page markers.
I used a large rubber band for the main closure strap as it's what I had, but next time I will get some elastic cord instead.
Then I added a camera charm and my name in beads to the strap to decorate the front.
I love how it turned out and I'm using it already. Hope you like it too.
Take care and I'll see you soon.
xxx


No comments:
Post a Comment
Hi, Thanks for stopping by today, please leave a comment as we love to hear from other crafty people. Take care Jen and Jude xxx