Shabby Blogs

Wednesday 28 February 2018

Super Dog

Good morning folks, and happy hump day. I hope you are all having a good week.


Today's card was a bit of a mish-mash of die-cuts and designers lol. I had the MFT Skyline die-cuts already in my bits and pieces box, and I was looking for something to use them with.


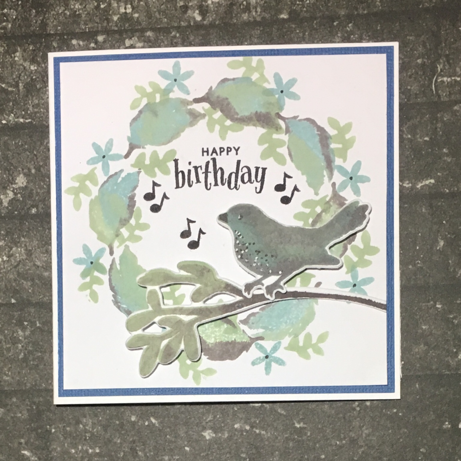
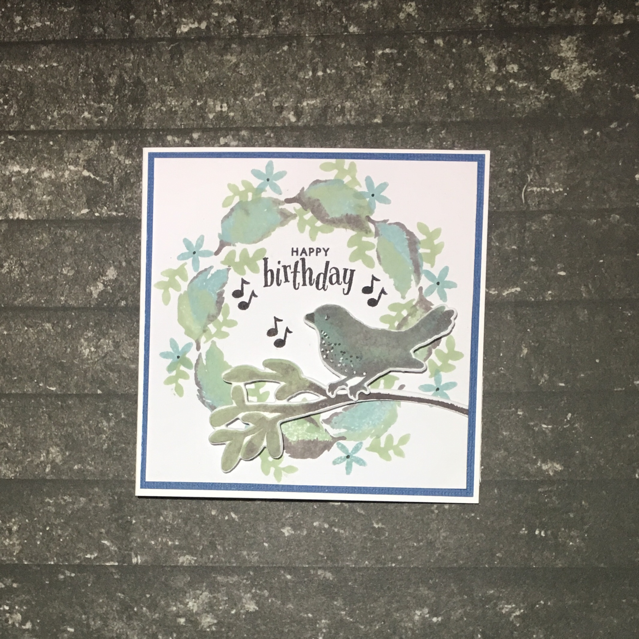
Then I came across the big Marianne Designs Birthday die cut, that I had cut and never used, and the two seemed to fit together.


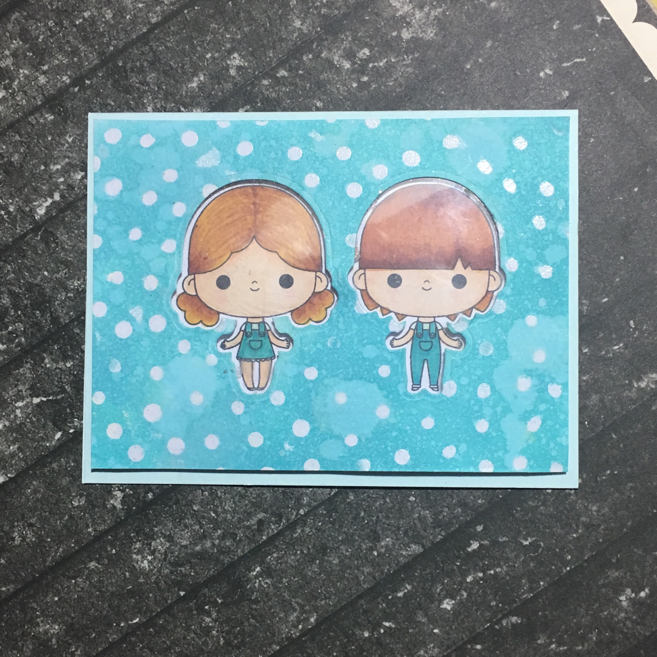
The skyline gave me the idea for a super hero so I dug out the Clearly Besotted Caped Cuties set and picked this little guy.


I stamped him with Memento Tuxedo Black ink and then coloured him with Copic markers, then I cut him out with the matching die.


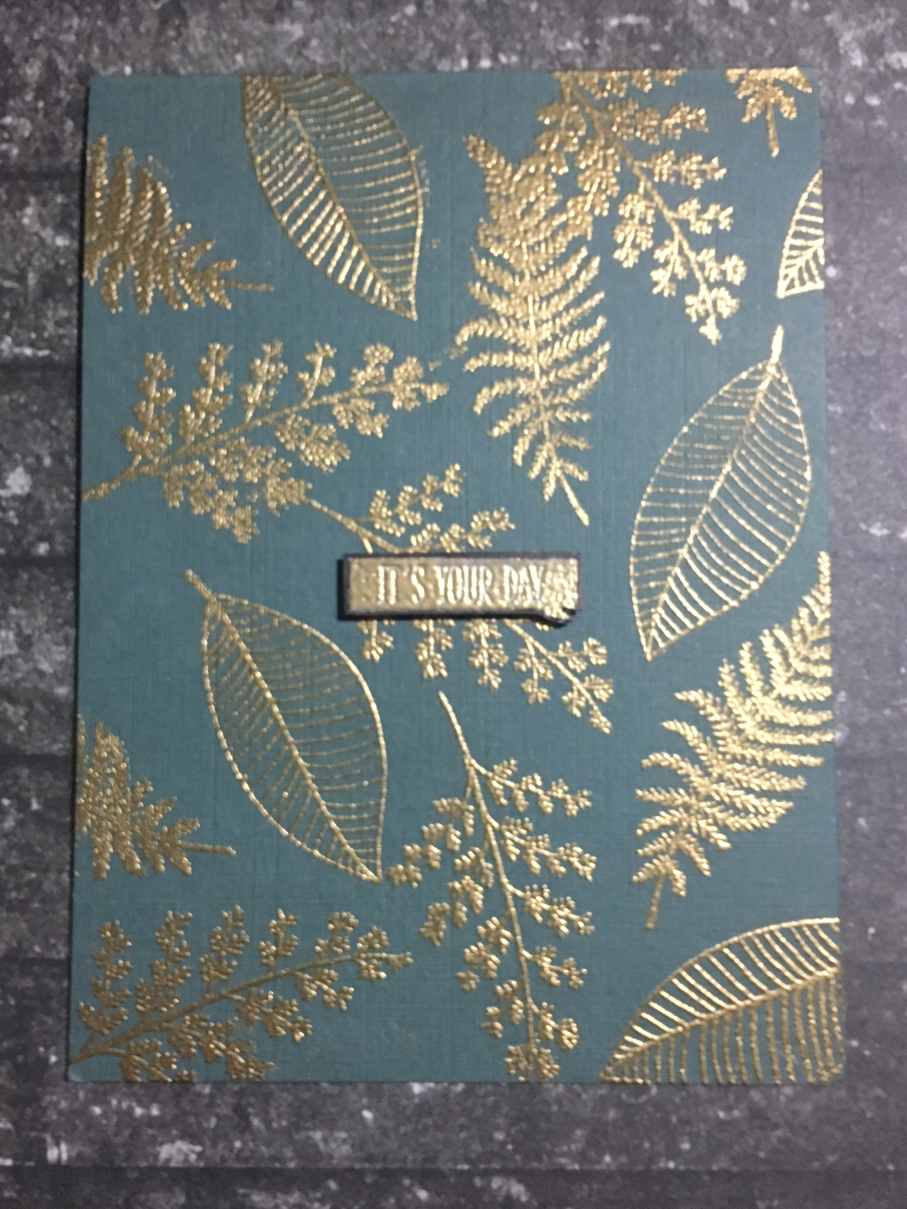
I added a stamped sentiment at the top, and before I used the card I did add another sentiment at the bottom, but that was after I had already taken the photos lol.


Hope you like it, take care and I'll see you Friday.

xxx

Tuesday 27 February 2018

Song bird

Hello friends.  Thank you for joining us today.

I have a card to share made with the February My Monthly Hero kit. This is quite a small card, less than 5" square, but has a lot in it.


To start I made a wreath of feathers using the 3 inks supplied - Nest, Robin's Egg and Feather.  To this I added a small flower and a few leaves.


I stamped the bird by layering the three inks until I had a colour I was happy with and cut it out with the matching die.  I did the same for the branch then adhered them with foam tape over the wreath.
I added some gel pen accents to the bird's chest to make it more thrush-like, then inked in an eye and the beak.


The sentiment and notes are also from the kit and add a finishing touch.
I love how this turned out and will be making more variations of this card.

TTFN Jude xx

Monday 26 February 2018

Flower Wreath

Good morning folks, I hope you have had a nice crafty weekend. I had all good intentions of  starting to decorate this weekend, but, that never really got started lol. I did spend some time with family though, and even managed a play in the craft room! So all in all, a good weekend.


Right, today's card was made using the free gift that came with Issue 26 of Die-Cutting Essentials magazine. The set is called Happy Days, and consists of the flower wreath die, extra single flowers and some sentiment stamps.


I went with a Kraft and white theme, cutting a couple of wreaths from each colour, then using pieces of them to layer up.


I used Stitched Square dies to cut the backgrounds and a Kraft card blank for the base.


After adding foam tape under the front panel for a bit of dimension, I went in and added Spectrum Noir Clear Sparkle Pen to all the flowers, then finished it off with a few small crystals.


Hope you like it, take care and I'll see you soon.

xxx

Friday 23 February 2018

Gold leaves

After a hectic week I have a nice simple card for you today to ease us into the weekend.


I took a few stamps, some dark card and gold embossing powder to play with and this was the result.  I'm really loving the combination of gold on green.


I used a few stamp sets to pick my leaves from and simply stamped them randomly across the card base with Versamark ink.  I added Cosmic Shimmer detail gold embossing powder and heat set them.


A sentiment from the Clearly Besotted So To Speak set, popped up on foam tape, finished it off.


This looks so classy but was dead easy to make.  Why not give it a try?
See you next week.
TTFN Jude xx

Thursday 22 February 2018

Hippo Birdie

Good morning all, I hope you are having a good week. Today's card is one I made for a friend a couple of weeks ago. Apologies for the rubbish photos, but I had to take them at night time, so the lighting was awful lol.


I went back to an old Lawn Fawn stamp Set, called Hippo Birdie. This is still one of my favourites, and is so simple to colour.


I stamped the scene with Tuxedo Black Memento ink, and then coloured the images with Copic Markers. Then I cut the scene out with a Lawn Fawn Stitched Square die.


I wanted to keep the rest of the card very simple, so I found a woodgrain paper from the stash and cut this out with the Avery Elle Wonky Stitched Ellements die


Then I stamped the sentiment and used a slim rectangle die to cut it out. I didn't have a die exactly the right size, so a little tip is to cut the sentiment with a longer die, then put the die cut piece back in the die, placing the end of the die where you want the piece to finish. As long as you sit the stitched pieces back in the grooves of the die, you can't tell that you have cut it twice.


Hope you like it, take care and I'll see you soon.

xxx

Wednesday 21 February 2018

The Twins

Thank you for joining us today.

Today's card was made with a stamp and die set we received in our Crafters for a Cause charity box.


The set is called Spring Garden by Luli Bunny for Mama Elephant.  

The characters were coloured with Spectrum Noir markers and turned out pretty nicely.  I normally use Copics so it was good to have a change.


The front piece was made by blending distress inks in salty ocean and peacock feathers then spritzing with water, over a white embossed dotty background before using the matching dies to cut the openings.


I tried to make an open window card but it didn't turn out too well.  I lined up the windows ok but the Big Shot left marks on the front panel which didn't look good.

After much fussing about I ink blended the front, added a piece of acetate and foam mounted the aperture over the stamped images.

I haven't added a sentiment yet as I can't make my mind up what to use!

TTFN Jude xx

Tuesday 20 February 2018

Anniversary Love Birds

Good morning folks, I hope you have had a good weekend, and a good start to the week. 


Today's card is an anniversary card that I made recently, however, the design is so simple it could easily have lots of other sentiments on it.


I started by using Alcohol Inks on glossy paper to blend a background. I used Lettuce, Meadow, and Sunshine Yellow, with a few drops of Silver Mixative, and swiped it over the paper in one direction. 


I trimmed the panel down and cut it out with a Stitched Rectangle die and then added a larger white mat behind it, before adding them to a green note card.


The tree is a Spellbinders Die-D-Lites die, and the birds are fussy cut from a Marianne Designs Birdhouse stamp set, coloured with Copic markers and then covered in Glossy Accents.


I stamped the Happy Anniversary sentiment on to plain white card and then cut it out with an MFT Stamps Stitched Banner Die.


Hope you like it, take care and I'll see you soon.

Thanks

xxx

Monday 19 February 2018

Pretty posies

Hello everyone and happy Monday.


Today's card is made using a Wplus9 stamp set called Beautiful Bouquets - Ranunculus.


I stamped it twice on watercolour paper and coloured it with my Zig Clean Colour markers and a water brush.


Once dry I fussy cut both bouquets and added them to a piece of silver grey card stock and a black card base.


To finish off I white heat embossed a sentiment on to black card.

I love the bright colours of these flowers and hope you do too.

TTFN Jude xx

Friday 16 February 2018

Sparkly Leaves

Good morning folks, I hope you have all had a good week and are looking forward to the weekend. We've had a busy week here with the boys being over, but it's so lovely to have them here, and it does go far too quickly !


Today's card was going to be a white on white, with just a pop of colour, but in the end it had more colour than I had intended, but I still like it.


I used a small tree die, that I think came on a magazine a few years ago. Either that or it's a Cheery Lyn die, I can't remember lol. 


Anyway, I cut it from plain white card and then using an embossing pen I coloured some of the leaves and then added Wow Red Pearl embossing powder. Unfortunately the embossing pen turned the leaves blue and the powder wasn't enough to cover it, so the leaves ended up a shiny blue lol. So, when I repeated this for the rest of the leaves, I added silver embossing powder instead!


I used stitched rectangles for the background and frame and added a sentiment cut with a Cut n Make die, I left one part plain white and then embossed the other part silver.


Then I added it all to a plain white A2 note card.


Hope you like it, take care and I'll see you soon.

xxx

Thursday 15 February 2018

Candles - or are they?

Hello again.  Today I have a quick and simple card for you.
I used a flat stamp and an open leaf stamp to create some birthday candles.


I stamped the plain border stamp at different heights in several colours of Memento ink.  I then used the leaf and orange ink to add flames.
A touch of Wink of Stella gave the candles some sparkle.


A fun sentiment and a happy birthday banner stamp finished it off. I told you it was quick!


This is a great idea for getting more from your stamps.  Try to imagine some of the simple shapes in other ways.

TTFN Jude xx

Two Crafty Sisters, Two Crafty Styles, One Crafty Blog!